+ 91 8108850334
info@parineeinterio.in
+ 91 8108850334
info@parineeinterio.in

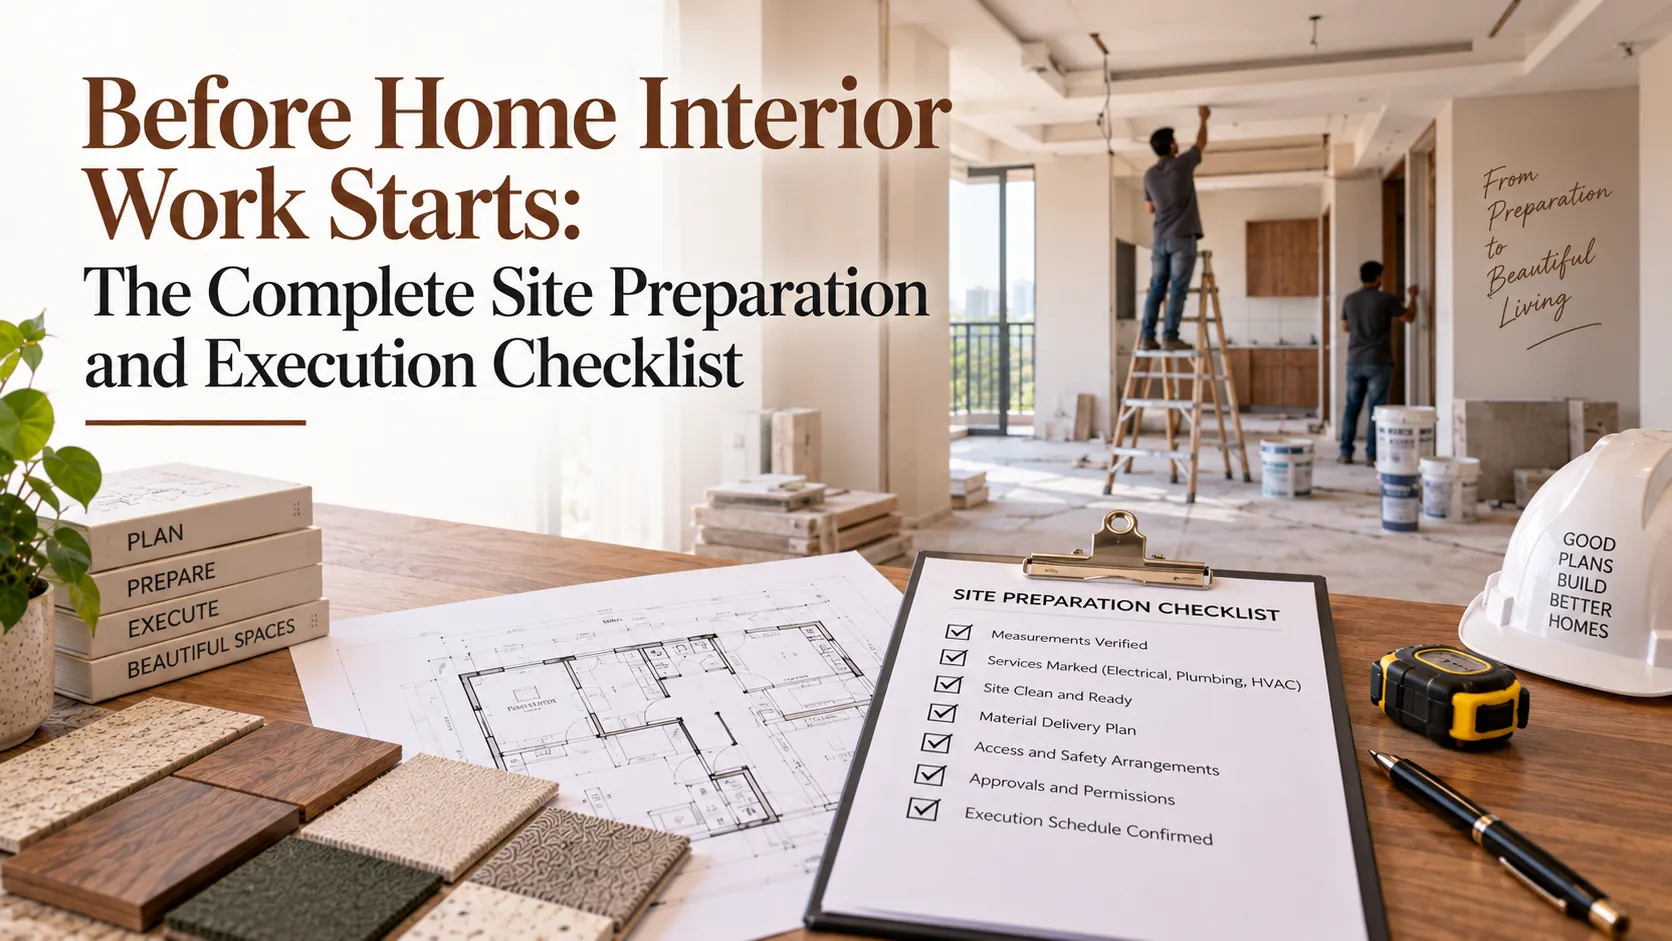
Your possession date is confirmed. The interior designer has shared the final quotation.
You have discussed the kitchen, wardrobes, furniture and colour combinations.
Now, finally, the actual work is about to begin.
You are probably excited to see your empty flat become the home you have been imagining for months.
But there is also a slightly uncomfortable feeling.
Have we forgotten something important?
What if the electrical points are in the wrong place? What if the builder has left some defects? What if the society does not allow workers to start immediately?
These concerns are completely understandable, especially when you are getting your home interiors done for the first time.
The good news is that many avoidable execution problems can be identified before the first worker enters your flat.
This checklist before starting home interiors will help you understand what needs to be inspected, finalised, documented and coordinated so that your project begins with greater clarity.
Why Site Preparation Matters More Than Most Homeowners Realise
Many homeowners assume that interior work begins when the carpenter arrives or the first cabinet goes into production.
In reality, successful execution begins much earlier.
Consider a common situation.
Your modular kitchen design is approved.
The cabinets are ready for manufacturing.
During installation, the team discovers that the plumbing outlet is positioned differently from what was shown in the builder’s drawing.
Now the plumbing may need modification, or the cabinet design may need adjustment.
Both options can affect the project schedule and cost.
A proper pre-execution inspection helps identify such differences before they become installation problems.
Let us understand what you should check, starting with the condition of your flat.
Part 1: Confirm That Your Home Is Actually Ready for Interior Work
1. Complete Your Possession and Builder Handover Checks
If you are moving into a newly constructed flat, do not assume that receiving the keys means every part of the property is ready for interior execution.
Inspect the flat carefully before allowing extensive work to begin.
Check the windows, doors, flooring, wall finishes, bathroom fittings and electrical fixtures.
If the builder has promised to rectify any outstanding work, document those items during the handover process.
For example, a damaged floor tile is easier to raise with the builder before carpenters begin moving equipment through the flat.
Before starting: Keep your possession documents, available builder drawings and handover defect list together.
For resale flats, the same principle applies, although you may need to arrange repairs independently rather than through a builder.
2. Document Existing Defects With Photographs
Walk through every room and photograph visible defects.
Pay particular attention to:
- Cracked or hollow-sounding floor tiles.
- Damaged window frames and door shutters.
- Uneven walls or unfinished plaster.
- Water stains on ceilings and external walls.
- Damaged bathroom fittings.
- Broken electrical accessories.
Why photograph everything?
Suppose you discover a damaged tile after three weeks of interior work. Without an earlier record, it may be difficult to establish whether the damage existed before execution.
Photographs help everyone understand the original condition of the property.
3. Check for Seepage and Dampness Before Installing Furniture
Here is something I would strongly recommend.
Do not cover a damp wall with a beautiful wardrobe and assume the problem has disappeared.
Seepage can damage plywood, laminates, paint and stored belongings.
Inspect walls near bathrooms, kitchen plumbing, external windows and other areas where moisture may enter.
If you notice recurring dampness, ask a qualified professional to identify the source.
The solution may involve plumbing repairs, waterproofing or addressing water entry from outside the flat.
Simply applying fresh paint or covering the affected area is not a reliable substitute for fixing the underlying problem.
Before starting: Resolve identified moisture problems and confirm that affected surfaces are sufficiently dry before proceeding with finishes and furniture installation.
Not sure whether your flat is ready for interior work? Parinee Interio can help you discuss the site conditions and preparation requirements that need attention before execution begins.
Part 2: Verify Measurements, Electrical Points and Plumbing
Once the property condition is understood, the next step is checking whether your approved designs match the actual site.
4. Take Final Site Measurements After Possession
Your builder’s floor plan is useful for initial planning.
However, final furniture dimensions should be based on verified site measurements.
Walls may not be perfectly straight. Columns may project into rooms. Finished floor levels and plaster thickness can also affect available dimensions.
Even a small difference can matter when installing a wardrobe between two walls.
Ask your interior team to verify the measurements of every room and important furniture location.
Particular attention should be given to modular kitchens, wardrobes, lofts and built-in furniture.
Before starting: Confirm that the execution drawings reflect the actual site conditions rather than relying only on the original floor plan.
5. Complete the Electrical Assessment
Think about your family’s everyday routine.
Where will you charge your phone beside the bed? Will your dining area need a socket? Does your kitchen have suitable points for the refrigerator, microwave and other appliances?
These decisions should be finalised before furniture manufacturing and wall finishing.
Review the positions of switches, sockets, lighting points, AC connections and appliance outlets.
Have a qualified electrician assess relevant wiring, circuit capacity, earthing and protection arrangements, particularly in older properties or where additional loads are planned.
Do not forget to coordinate switchboard positions with furniture.
A beautifully designed bedside table becomes inconvenient if it blocks the charging socket.
6. Inspect Plumbing and Drainage Requirements
Plumbing deserves the same attention.
Check whether the existing water supply and drainage points support your approved kitchen and bathroom layouts.
Confirm the planned positions of the sink, dishwasher, washing machine and water purifier, wherever applicable.
If you are changing a kitchen layout, discuss the drainage route before approving cabinet manufacturing.
The same applies to AC condensate drainage.
A poorly planned drain can create leakage or maintenance problems after the interiors are completed.
Before starting: Get the required plumbing modifications assessed and coordinate their completion with the furniture and finishing schedule.
7. Confirm Whether Any Civil Modifications Are Required
Are you planning to remove a partition, change bathroom arrangements or create a new opening?
These decisions need to be resolved before interior execution proceeds.
Never assume that a wall can be removed simply because it appears thin or non-load-bearing.
Where structural modifications are proposed, obtain the necessary professional assessment and building approvals before proceeding.
The project team should also confirm whether civil changes will affect flooring, waterproofing, electrical routes or furniture dimensions.

Part 3: Finalise the Design Before Work Begins
Now that the site has been inspected, let us talk about something equally important.
Are all the decisions needed for execution actually finalised?
8. Approve the Furniture Layout and Working Drawings
A 3D design helps you imagine your finished home.
But the execution team needs more detailed information.
Relevant working drawings should show furniture measurements, internal storage arrangements, electrical coordination and construction details.
Check practical clearances before approving the layouts.
For example, if you plan to install a king-size bed, confirm that you can comfortably move around it and open nearby wardrobe shutters.
Once manufacturing begins, changing these decisions may become expensive.
9. Finalise Materials, Finishes and Hardware
Do not leave important material decisions for the day the carpenter asks you what to use.
Confirm the agreed plywood or board specifications, laminates, finishes, hinges, drawer channels and other relevant hardware.
Whenever possible, review physical samples.
Colours and textures can appear different on a phone screen compared with actual materials.
Also check whether the materials being ordered match the specifications mentioned in your quotation.
Before starting: Maintain an approved material schedule that records the selected specifications and finishes.
10. Shortlist Appliances Before Finalising the Kitchen
Picture this.
Your kitchen cabinets are manufactured, and you purchase a refrigerator that is slightly wider than the allocated space.
Now either the refrigerator must change or the cabinet arrangement needs modification.
To avoid this situation, shortlist major appliances early.
Share the actual model dimensions and installation requirements for your refrigerator, hob, chimney, microwave, dishwasher and other built-in appliances.
Remember to consider ventilation, electrical connections and maintenance access, not just the visible dimensions.
If you have finalised your quotation but are still uncertain about layouts, materials or appliance placement, discuss these details before authorising manufacturing. Parinee Interio can help you understand which decisions should be settled before execution begins.
Part 4: Understand Your Building’s Rules Before Scheduling Workers
This is particularly relevant for homeowners in Mumbai.
Every housing society may have its own procedures governing interior work.
You do not want to arrange workers and material deliveries only to discover that access permissions are incomplete.
11. Confirm Society Permissions and Working Restrictions
Speak to your society office or building management before scheduling execution.
Depending on the building, you may need to clarify:
|
12. Arrange Contractor and Material Access
Execution requires more than permission to begin work.
Workers need access to the flat. Materials need a suitable unloading route.
Some equipment may require particular handling arrangements.
Confirm who will coordinate worker entry, deliveries and access to the service lift.
Also clarify who is responsible for receiving materials and checking deliveries.
These arrangements become especially important when you cannot visit the site every day.
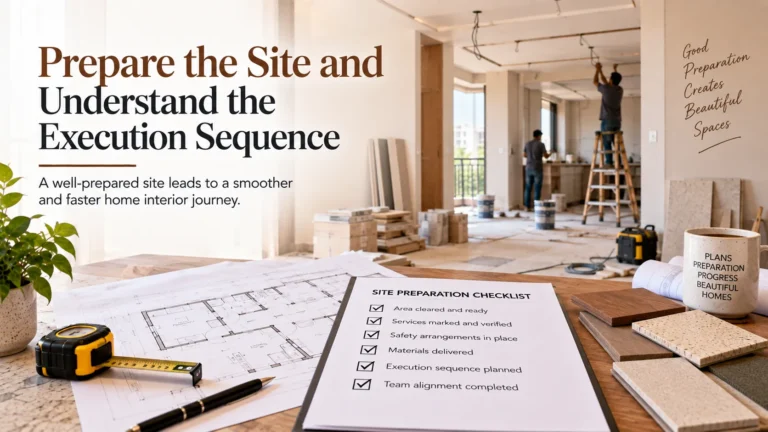
Part 5: Prepare the Site and Understand the Execution Sequence
13. Arrange Site Protection and Basic Working Facilities
Before work begins, discuss how existing surfaces will be protected.
Depending on the scope, this may include floors, windows, bathroom fixtures, doors and areas used for transporting materials.
Make sure the execution team has safe access to temporary electricity and water where required.
It is also useful to establish where tools and materials can be stored without obstructing work.
Do not overlook common areas. Damage to a society lift or corridor can create disputes and additional expenses.
14. Understand Which Work Will Happen First
Interior execution should follow a coordinated sequence.
The exact order depends on your project’s scope, but a typical process may include:
- Site inspection, measurements and marking.
- Approved demolition and civil modifications, if required.
- Plumbing and electrical modifications.
- Waterproofing and testing, wherever applicable.
- Ceiling framework and associated service coordination.
- Surface preparation and appropriate finishing stages.
- Furniture manufacturing and installation.
- Hardware, lighting and appliance installation.
- Final painting, touch-ups and cleaning, as applicable.
- Quality inspection, rectification and handover.
Some activities may overlap, and the sequence of painting or furniture installation may vary with the chosen construction method.
The important point is that the team should understand which tasks depend on earlier work.
For example, final kitchen cabinet measurements may need reconfirmation after relevant civil modifications are completed.
15. Conduct a Pre-Execution Meeting With Your Project Team
Before the project begins, arrange one final discussion with the designer or project manager.
Review the approved scope, execution schedule, material specifications and payment milestones.
Confirm who will share updates, how frequently you will receive them and whom you should contact when a decision is required.
Also discuss how additional work will be approved.
If an unexpected site condition requires a change, you should understand its effect on the budget and timeline before authorising the modification.
|
Your Actionable Pre-Execution Checklist
Use this checklist during your final site visit and discussion with your interior designer.
Ideally, complete it before authorising major purchases, manufacturing or site work.
Property and Site Readiness
- Possession and site access confirmed.
- Existing defects inspected and photographed.
- Builder rectification work reviewed, where applicable.
- Seepage and dampness concerns assessed and resolved.
- Final site measurements verified.
- Required civil modifications and approvals confirmed.
Technical Readiness
- Electrical points checked against furniture layouts.
- Appliance electrical requirements reviewed.
- Plumbing and drainage positions verified.
- AC locations and drainage routes confirmed.
- Kitchen appliance dimensions shared with the designer.
Design and Budget Readiness
- Final furniture layout approved.
- Relevant working drawings reviewed.
- Kitchen and wardrobe internal arrangements finalised.
- Material specifications and finishes approved.
- Itemised quotation and exclusions reviewed.
- Payment milestones understood.
- Procedure for additional work agreed.
Society and Execution Readiness
- Applicable society permissions obtained.
- Working hours and building restrictions confirmed.
- Contractor access arrangements completed.
- Material movement procedures clarified.
- Floor and common-area protection planned.
- Project manager and communication process confirmed.
- Execution schedule and major milestones reviewed.
Keep a copy of this checklist with your approved drawings, quotation and project agreement.
It is much easier to refer to one organised set of documents than to search through several months of WhatsApp conversations after work has begun.
|
|